![TOC]
自定义Starter
我们分析完毕了源码以及自动装配的过程,我们可以尝试自定义一个启动器来玩玩!
说明
启动器模块是一个 空 jar 文件,仅提供辅助性依赖管理,这些依赖可能用于自动装配或者其他类库;
命名归约:
官方命名:
- 前缀:spring-boot-starter-xxx
- 比如:spring-boot-starter-web….
自定义命名:
- xxx-spring-boot-starter
- 比如:mybatis-spring-boot-starter
编写启动器
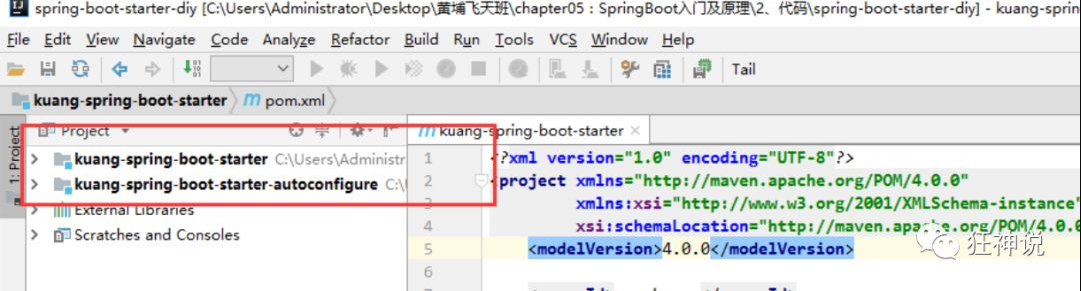
1、在IDEA中新建一个空项目 spring-boot-starter-diy
2、新建一个普通Maven模块:kuang-spring-boot-starter
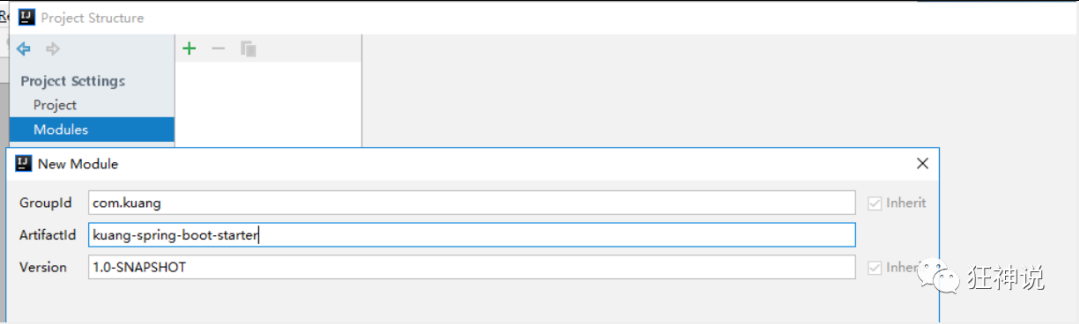
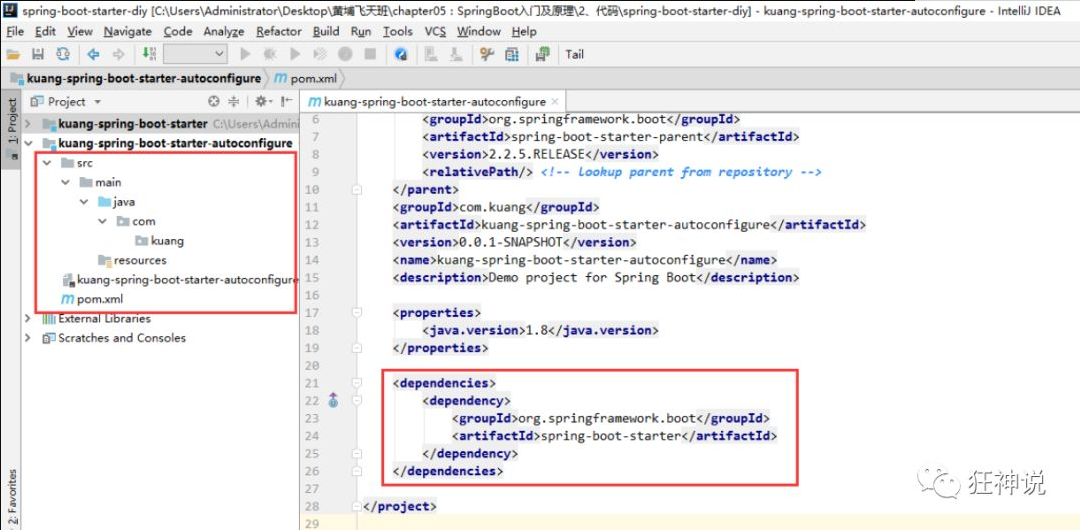
3、新建一个Springboot模块:kuang-spring-boot-starter-autoconfigure

4、点击apply即可,基本结构
5、在我们的 starter 中 导入 autoconfigure 的依赖!
1
2
3
4
5
6
7
8
9
|
<dependencies>
<dependency>
<groupId>com.kuang</groupId>
<artifactId>kuang-spring-boot-starter-autoconfigure</artifactId>
<version>0.0.1-SNAPSHOT</version>
</dependency>
</dependencies>
|
6、将 autoconfigure 项目下多余的文件都删掉,Pom中只留下一个 starter,这是所有的启动器基本配置!
7、我们编写一个自己的服务
1
2
3
4
5
6
7
8
9
10
11
12
13
14
15
16
17
18
19
| package com.kuang;
public class HelloService {
HelloProperties helloProperties;
public HelloProperties getHelloProperties() {
return helloProperties;
}
public void setHelloProperties(HelloProperties helloProperties) {
this.helloProperties = helloProperties;
}
public String sayHello(String name){
return helloProperties.getPrefix() + name + helloProperties.getSuffix();
}
}
|
8、编写HelloProperties 配置类
1
2
3
4
5
6
7
8
9
10
11
12
13
14
15
16
17
18
19
20
21
22
23
24
25
26
27
| package com.kuang;
import org.springframework.boot.context.properties.ConfigurationProperties;
@ConfigurationProperties(prefix = "kuang.hello")
public class HelloProperties {
private String prefix;
private String suffix;
public String getPrefix() {
return prefix;
}
public void setPrefix(String prefix) {
this.prefix = prefix;
}
public String getSuffix() {
return suffix;
}
public void setSuffix(String suffix) {
this.suffix = suffix;
}
}
|
9、编写我们的自动配置类并注入bean,测试!
1
2
3
4
5
6
7
8
9
10
11
12
13
14
15
16
17
18
19
20
21
22
23
24
| package com.kuang;
import org.springframework.beans.factory.annotation.Autowired;
import org.springframework.boot.autoconfigure.condition.ConditionalOnWebApplication;
import org.springframework.boot.context.properties.EnableConfigurationProperties;
import org.springframework.context.annotation.Bean;
import org.springframework.context.annotation.Configuration;
@Configuration
@ConditionalOnWebApplication
@EnableConfigurationProperties(HelloProperties.class)
public class HelloServiceAutoConfiguration {
@Autowired
HelloProperties helloProperties;
@Bean
public HelloService helloService(){
HelloService service = new HelloService();
service.setHelloProperties(helloProperties);
return service;
}
}
|
10、在resources编写一个自己的 META-INF\spring.factories
1
2
3
|
org.springframework.boot.autoconfigure.EnableAutoConfiguration=\
com.kuang.HelloServiceAutoConfiguration
|
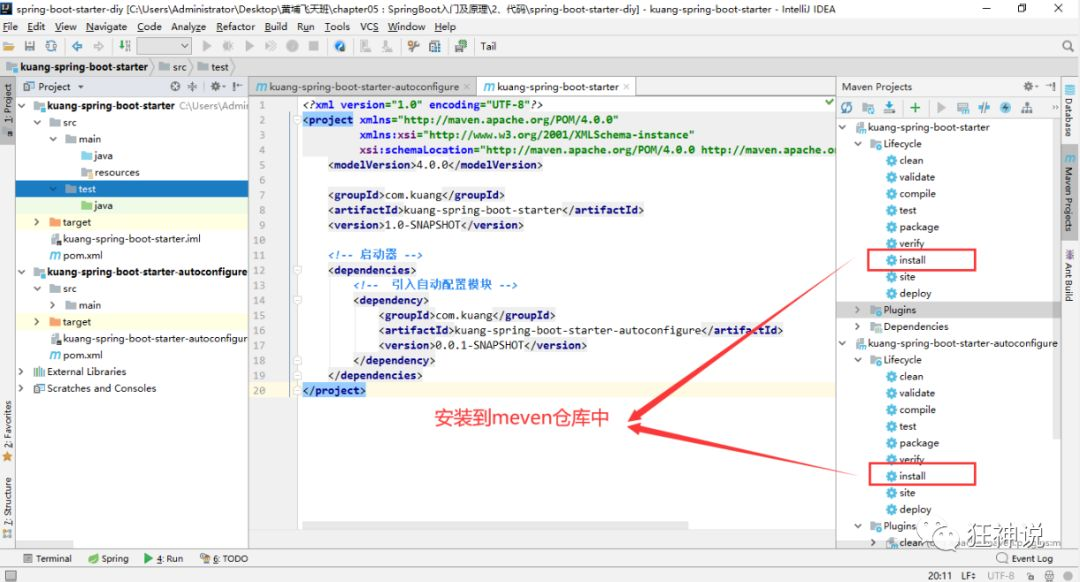
11、编写完成后,可以安装到maven仓库中!
新建项目测试我们自己写的启动器
1、新建一个SpringBoot 项目
2、导入我们自己写的启动器
1
2
3
4
5
| <dependency>
<groupId>com.kuang</groupId>
<artifactId>kuang-spring-boot-starter</artifactId>
<version>1.0-SNAPSHOT</version>
</dependency>
|
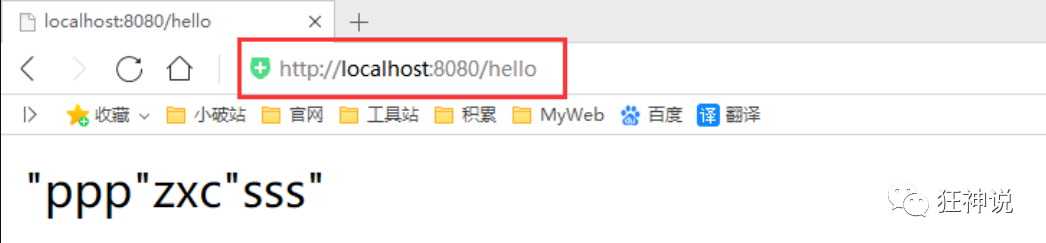
3、编写一个 HelloController 进行测试我们自己的写的接口!
1
2
3
4
5
6
7
8
9
10
11
12
13
14
| package com.kuang.controller;
@RestController
public class HelloController {
@Autowired
HelloService helloService;
@RequestMapping("/hello")
public String hello(){
return helloService.sayHello("zxc");
}
}
|
4、编写配置文件 application.properties
1
2
| kuang.hello.prefix="ppp"
kuang.hello.suffix="sss"
|
5、启动项目进行测试,结果成功 !